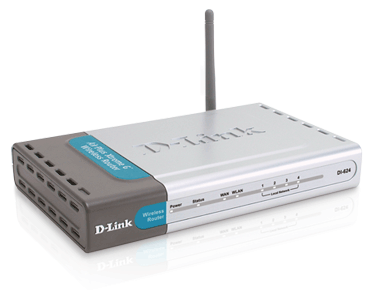
Wi-Fi router’s comes along with an interface where we can change settings and configure your new router to a connection. They allow user’s to connect to them through a secured password called as authentication key. There are many authentication type’s like WEP-64Bits, WEP-128Bits, WPA-PSK, and some other and even you can choose no authentication i.e: No password is required to connect to a Wi-Fi router and However its not secured to use no authentication since any of the individual’s can access your connection and there is a chance to damage your device. Let’s see how to choose or change your Wi-Fi Router’s password.
- Firstly, you need to go to the interface page which was provided by the router. You need to know it’s IP to view interface page. How to know it’s ip?
- Open run (shortcut: win + r) and type “cmd” and press “Enter”. You can see the command prompt window opened.
- In the command prompt window type: “ipconfig” and press “Enter”.You can see some ip addresses as shown in the below screen shot.
- All you require is the ip of “Default Gateway”. copy the ip and paste it in any browser and navigate to that page. This page is nothing but your router’s interface page where you can change the password.
- Go to “Interface Setup” and select “Wireless” Tab. In this page you can find the field named “Pre-Shared Key” which is the password of your Wi-Fi connection.
- Change the value and save the settings. Now, you can see the password changed.

